Workspaces
Workspaces are isolated environments where you can create projects and glossaries, as well as invite people to help translate projects.
Create a new workspace
A workspace is created when you create your account. This is your default workspace. You can use it for your personal projects as well as for your company's projects.
If you manage several projects and you feel that these projects should not coexist in the same workspace (you do not want to invite the same people, the projects belong to different contexts, etc.), you can create a new workspace.
- From any page in the Polygot application, click the workspace selector

- Click the "New workspace" button

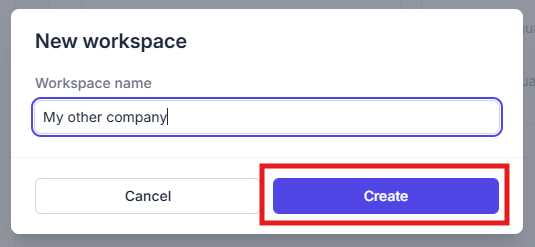
- In the modal, type a name for your new workspace, and click "Create"
- You will be redirected to your new workspace automatically
Update a workspace
You can edit your workspaces names anytime:
- Select the workspace you want to edit in the workspace selector
- Click the "Workspace settings" at the bottom of the left side panel

- In the "Identity" section, you have the ability to edit the worspace's name

- Click the "Save button" to save your modifications
Manage the workspace members
Invite new members to join the workspace
Invite your team members (developers, translators, proofreaders, etc.) to join your workspace so they can participate in the translation process with Polygot.
- Click the "Workspace settings" at the bottom of the left side panel
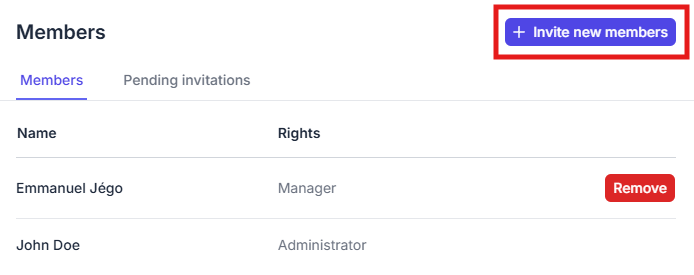
- In the "Members" section, click the "Invite new members" button
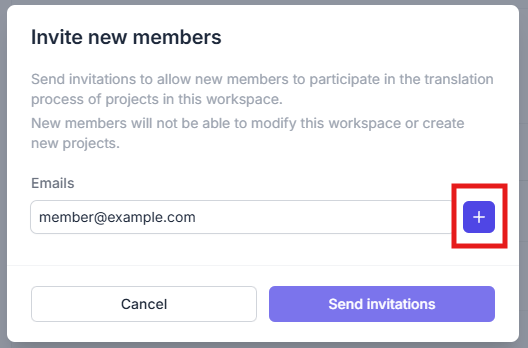
- Type the email of the person you want to invite, then click the "+" button; repeat for all the invitations you want to send
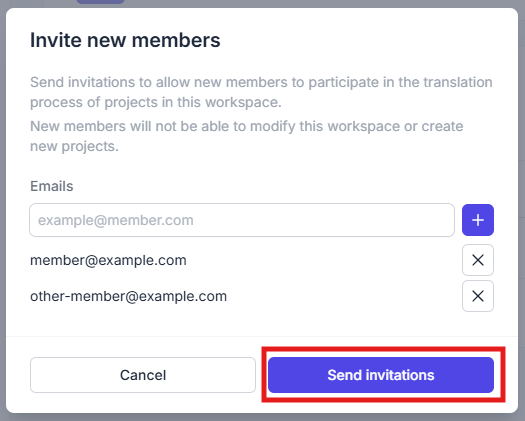
- Once all the email addresses for the invitations are added, click the "Send invitations" button
- The invitations are sent to the email addresses, and you can see them and cancel them in the "Pending invitations" tab
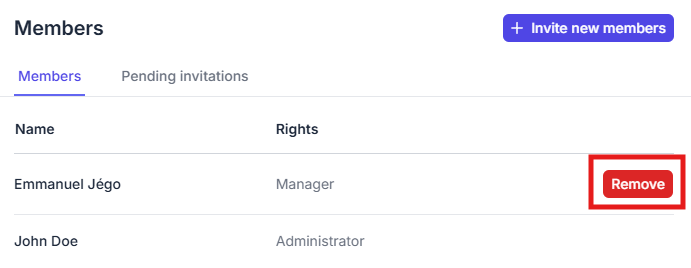
Remove current members
If you want a person to not be able to participate to the translation process of the projects of your workspace, you can remove them from the workspace anytime (as the workspace administrator).
- Click the "Workspace settings" at the bottom of the left side panel
- In the "Members" section, find the member you want to remove in the list, and click the "Remove" button for this member
Join a workspace
You can only join a workspace that you have been invited to by an admin.
Once an administrator has invited you to join their workspace, you will receive an invitation email that will offer you to join the workspace.