Glossaries
A glossary is a collection of source terms and their translations in different languages.
Demo video
Create a glossary
- Under the "Glossaries" page, click the "New glossary" button

- Fill the creation form within the modal: add a glossary name, indicate the source terms language, optionally add a description
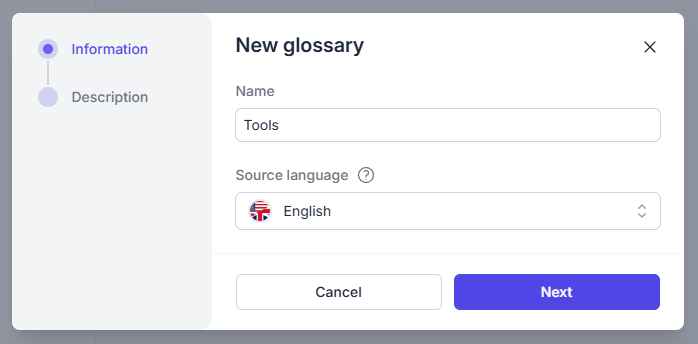
- Validate
Add source terms
- Move to the glossary page
- Click the "New term" button
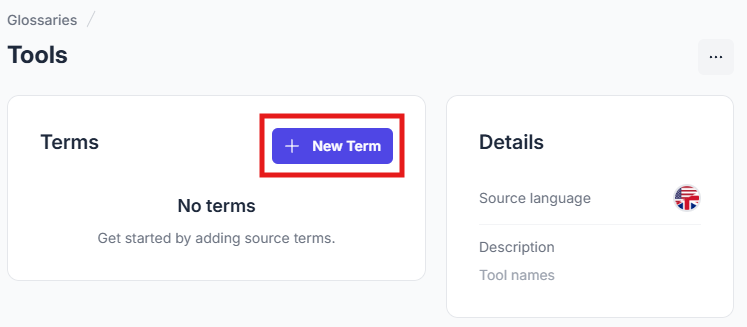
- Fill the new input in the table with the term
- Press the "Enter" key or click the "check" button to validate the term and create another one
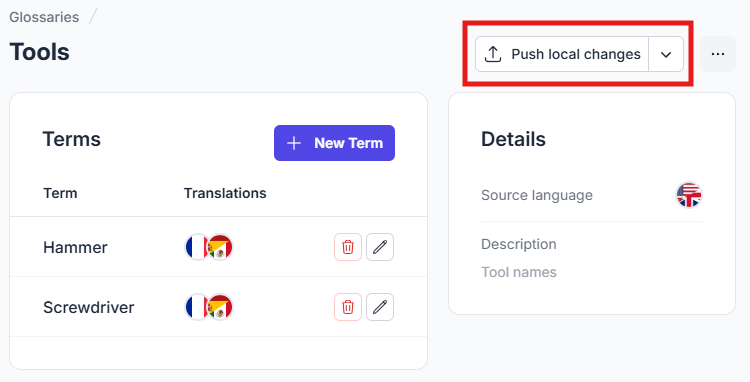
- When you are done with adding new terms, don't forget to save your changes to the server by clicking the "Push local changes" button. If you want to add translations too, add those before pushing to the server.
Add translations to a source term
- Click the edit button on the source term
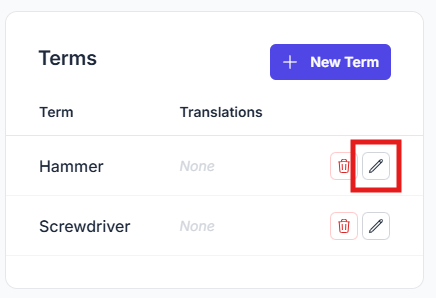
- Click the "Add translation" button and select a target language, then fill the input with the translation - repeat for all the translations that you want
- For words that sould not be translated, check the "Do not translate" checkbox instead
- Click the "Save" button on the modal to validate your modifications
- When you are done with adding translations, don't forget to save your changes to the server by clicking the "Push local changes" button.
Linking a glossary to a project
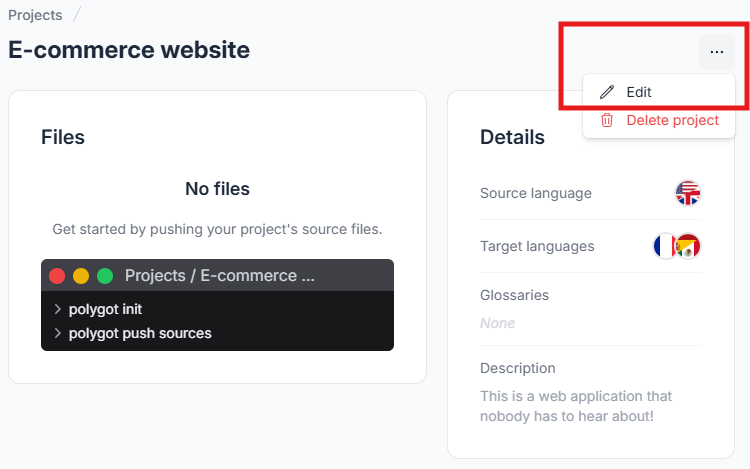
- Navigate to the project's page
- Edit the project by clicking the "..." button, and then the "Edit" button
- Under the "Instructions" step, wihtin the "Glossaries" section, click the select input, and check the glossary that you want to link. You can add multiple glossaries if your account allows it
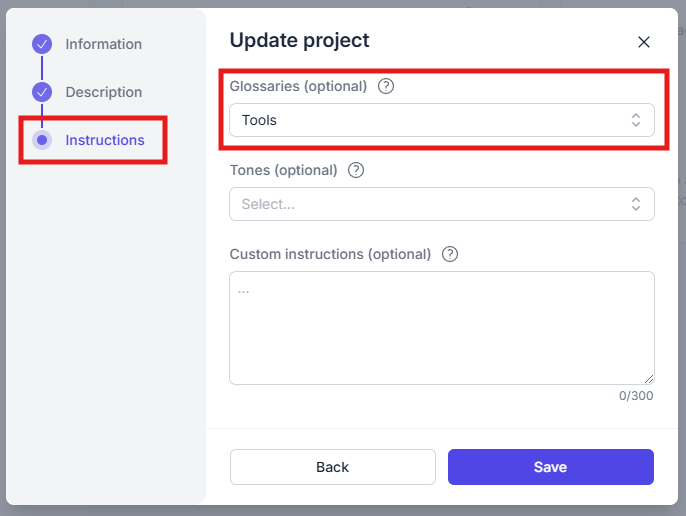
- Click the "Save" button on the modal to validate your modifications